801
Points
Questions
41
Answers
39
-
Asked on September 20, 2021 in Mobile.Best camera phone 2021
- Samsung Galaxy S21 Ultra. The absolute best camera phone.
- Huawei Mate 40 Pro. Almost the best camera phone money can buy.
- iPhone 12 Pro Max. The best iPhone camera around.
- Samsung Galaxy Note 20 Ultra. A great camera phone with an excellent zoom lens.
- OnePlus 9 Pro.
- Huawei P40 Pro.
- iPhone 12 Pro.
- 384 views
- 1 answers
- 0 votes
-
Asked on September 19, 2021 in Google.
The main way Google generates its revenue is through a pair of advertising services called Ads and AdSense. With Ads, advertisers submit ads to Google that include a list of keywords relating to a product, service or business. … Then, Google selects ads that contain keywords relevant to the webmaster’s site
- 366 views
- 1 answers
- 0 votes
-
Asked on September 17, 2021 in Internet.
First, you need to download a good torrent client. A torrent is a file (in our example, a movie file) that is uploaded by other users and made available to download to you. A torrent client is a program that gives you access to the torrent network and allows you to download files from others.
I recommend Utorrent: µTorrent – a (very) tiny BitTorrent client
Now, you need to protect yourself against getting sued, because downloading movies is illegal, right? Technically you can download torrents illegally, and you may never get sued or caught, but do so at your own risk. If you want to take the safe route, you’ll need a good VPN. It will cost you a little, but I think it’s worth it. A VPN (virtual private network) masks your internet activity, it shows every website and IP you connect to as coming from a different location than your home. Basically, your home PC connects to the VPN which then connects to the torrent network and websites.
I recommend PIA – Private Internet Access – Anonymous VPN Service Provider
Lastly, you need to find the torrents that you want to download. There are many sites online for this, however most of them are built to barrage you with tons of ads and will likely give you virus’s or hijack your browser to mine for cryptocurrency. This is the part that usually scares everyone away, but if you are choosy in the sites you use, you can remain relatively safe.
Everyone’s favorite is of course, the pirate bay: https://thepiratebay.org/
Its connection is spotty however.
You can also use google to search for torrents you want, but this is also hit and miss. Plus, the vast majority of websites dedicated to torrents are created to barrage you with ads and give virus’s etc.
The best way by far is to join a private community of illegal downloaders. It sounds scary, but once you get past the fear and remember to protect yourself with a good vpn it is easy.
I reccomend using Torrenting – Login – Torrenting.com
You will need to create an account, it is free for the first 10gb downloaded. After this, you will have to upload (for other users to download) your torrents in order to maintain a positive download/upload ratio. You can skirt around this limitation by creating new accounts every time you hit the 10gb limit, or pay for it.
That’s all there is to it basically. I do not download illegally of course, this is just for informational purposes. I recommend using playstation vue and netflix for your movie entertainment purposes.
- 360 views
- 1 answers
- 0 votes
-
Asked on September 16, 2021 in Graphic Design.
Illustrator is a vector-drawing application, but it also supports display of bitmapped images. When you rasterize an object in illustrator, you’re converting from vector to bitmapped and losing all of the vector information. Example:

This is a screen capture showing a vector star on the left, raster on the right. They look pretty much the same until you scale them or zoom in, but the biggest difference is when you switch to outline view:

Rasterized images are now just a box, because the object area has been converted to bitmap. Why would you do this? Possibly to map the raster image onto a 3d surface, or to reduce the complexity of a detailed illustration. I rarely use this feature because you can also rasterize images on export or in Photoshop, but it’s nice to have just in case you don’t want to make the round-trip outside of illustrator.
- 445 views
- 2 answers
- 0 votes
-
Asked on September 16, 2021 in Graphic Design.
To Rasterize in illustrator means to convert a vector graphic, which is made up of paths and anchor points, and converting it into a raster image, made of pixels. Vector graphics are visual representations of mathematical formulas and are easily manipulated using the tools available in Adobe Illustrator and do not lose quality with enlargement.
Raster images are like jpgs and pngs; they are best suited for pixel-based editing software like Photoshop. These images lose quality when enlarged. If you zoom into a vector on Illustrator, the edges and lines remain sharp, but if you zoom in on a rasterized image, the edges become jagged or pixelated.
Should you rasterize objects in Illustrator?
Rasterizing objects in Illustrator is mostly done when you need to open a vector graphic with a program that doesn’t support vector images, therefore you rasterize it to convert it into a jpg or png. However, Illustrator has export features that allow you to save and share your images as rasterized/bitmap images once you are done working, so there’s rarely ever a need to rasterize your work on Illustrator before you are done with it.
Rasterizing is also hard to reverse especially if your vector is very detailed and you rasterized it in low quality. If you need to export your vector to Photoshop, you don’t need to rasterize it in Illustrator. You can just copy and paste it into Photoshop and you’ll have the option to convert it there or work with it as a smart/linked object.
Another reason for rasterizing in Illustrator is when working with text. You may rasterize text in Illustrator so that when you share the design to a computer that doesn’t have the specific font, the person may still be able to view the text object.
However, if you use this method, the text will become pixelated and lose quality if enlarged. The best way to go about it, rather than rasterize the text, is to expand the text object in Illustrator which will turn it into a vector outline. It will not be editable as a text anymore, just as when you rasterize it, but as a vector, the text won’t lose quality when enlarged on screen or in print.
How to rasterize in illustrator without losing quality
To rasterize a vector in Illustrator without losing quality:
-
- Select the vector or text you want to rasterize using the selection tool (v). Hold down shift as you select if you want to rasterize several objects into one image. The dimensions of your objects on your artboard are the dimensions they will rasterize to. Therefore if you transform them to a larger size before rasterizing, you will get a higher resolution image.
-
- Copy your vectors on another artboard, file, or hidden layer. This is so you can access them as vector files later if you need to. The rasterize process is permanent and irreversible once you’ve saved your file.
-
- Go to Object>Rasterize…
-
- A window will pop-up with the rasterize options. Select the color mode you want your rasterized object to have. The default will match your original document color mode. So if you set it up as CMYK, the default will be CMYK. The same goes for RGB. You will have two other options in either scenario; Grayscale and Bitmap.
-
- Choose your resolution. 300 PPI is best for printing purposes and 72 PPI is best for viewing on screens and sharing online. You can choose “other” if you wish to set your own specific resolution. “Use document raster effect resolution” will match your rasterized image’s resolution to that of your working document.
-
- Choose whether you want a white background or a transparent one. These don’t affect your image’s final quality.
-
- Select the best anti-aliasing option for you. Anti-aliasing smooths out and blurs rough edges by adding pixels around the edges and color boundaries when rasterizing your image. (see below)This prevents your curves and diagonals from looking jagged and unnatural. If you select “None“, the edges will be crisper but curves or diagonal lines will appear jagged. (see image below)“Art optimized” anti-aliasing will add this effect to your shapes but is not recommended for texts. “Text-optimized” is best suited for rasterizing text to the best quality. You can play around with these settings and undo the raster if you don’t like the result.
-
- Leave the other settings as default and click “Ok”. Your object is now rasterized.
If you don’t notice any difference, that’s a good sign that your image has rasterized in high quality. If you zoom in you’ll notice the pixels. Your rasterized image won’t have paths and anchor points like vector objects.
- 445 views
- 2 answers
- 0 votes
-
-
Asked on September 15, 2021 in Internet.
When it comes to sharing your pictures online, maybe you’re just looking for something easy-to-use for one photo or just a handful of images. And, more importantly, you may just want something that will host your pictures for free. The following are the top five free places to upload your photos.
1. Imgur: Easiest way to share images online
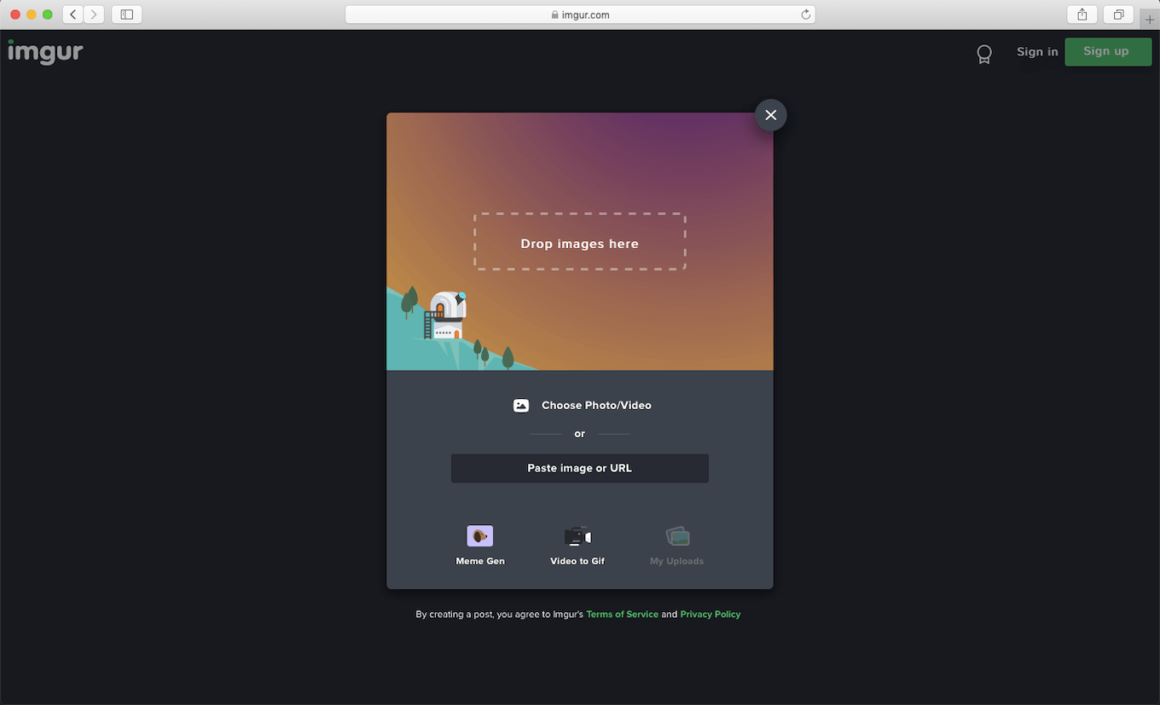
If you don’t want to worry about storage limits, then Imgur might be the site for you. It’s mostly used to host images for websites like Reddit or other social media sites, so you probably don’t want to store family pictures or vacation photos here.
But, that being said, you can upload as many images as you want without even creating an account, but if you do create a free account, you gain access to features like albums and captions to help organize your pictures.
2. Behance: Share and find inspiration on this photo website
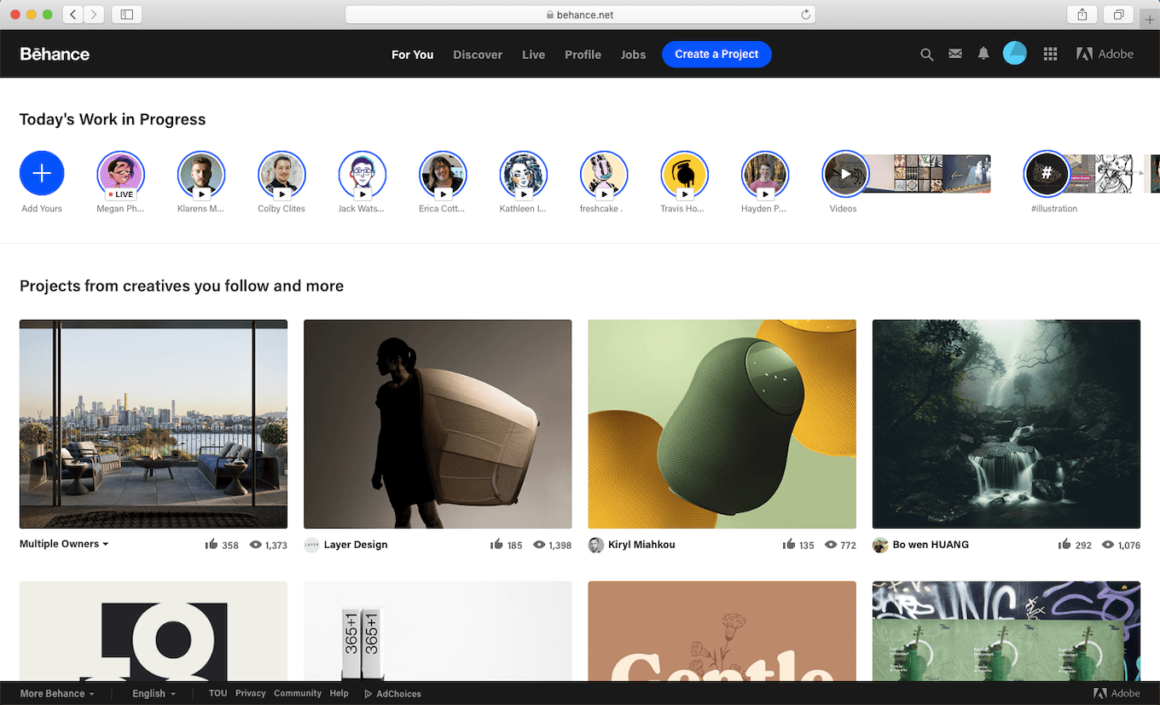
More of a social network for all creative professionals, Adobe’s Behance is perfect for photographers uploading their pictures. It’s free to use, and there’s no limit to how many projects you can have on there or how many images you upload. It’s not meant for uploading your entire photo library, however, but individual projects or collections of photos. And if you’re already using any apps from the Adobe suite, then uploading to Behance from those apps will be a breeze.
3. ImageShack: A well-designed and free photo sharing site
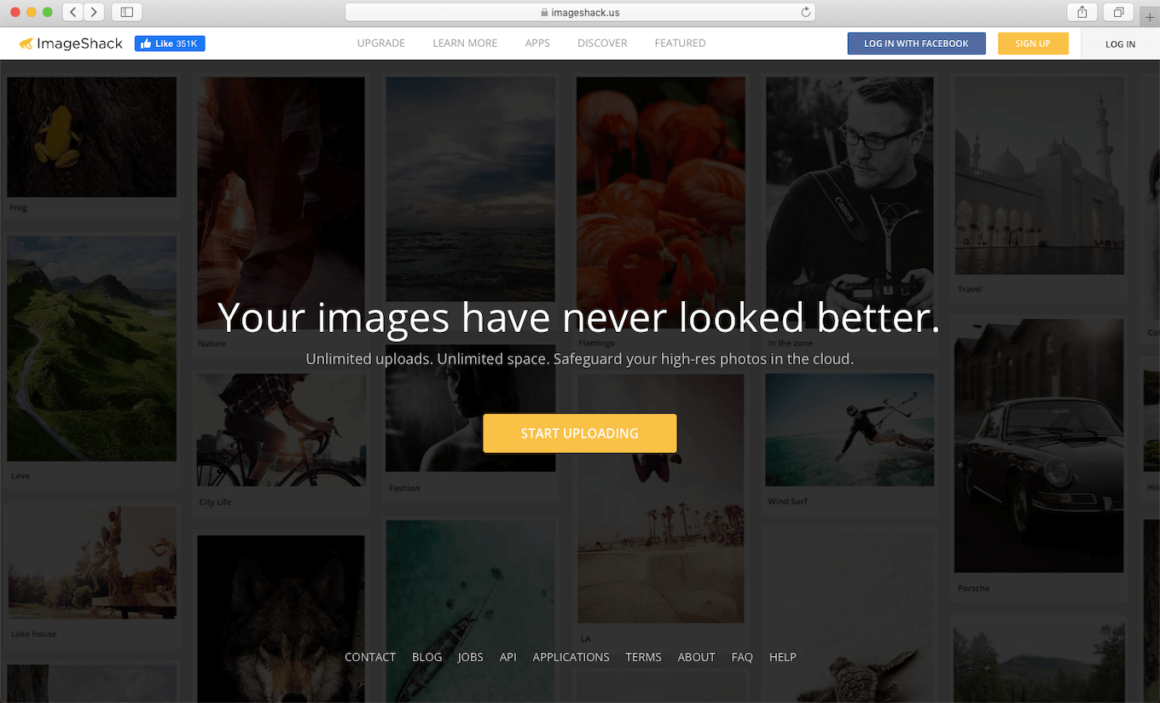
Even though ImageShack doesn’t give you unlimited storage for your pictures, it does give you 10 GB per month for free. If you’re only occasionally uploading a group of pictures, then spacing your 10 GB out shouldn’t be too difficult. You can tag pictures, organize your photos into albums, and share them with friends.
- 376 views
- 1 answers
- 0 votes
-
Asked on September 15, 2021 in Education.
1. Get Grammarly Premium Account Via Using Flikover
Flikover is a group buy service which distributes premium services at an affordable price. You can get free Grammarly premium access by signing up there. The first month will be free of cost for you.
Besides Grammarly, you can get other premium products at cheap rates too. Such as Aherf, Semrush, Word Ai, etc. These tools are used for various purposes and come with a premium price tag. It is excellent that Flikover provides these tools at lower prices.
You can also access Grammarly premium if you have premium cookies with you. You can use these cookies to trick Grammarly servers that you are a premium user. Don’t worry if you don’t know how to use cookies in your browser. We are here to guide you through Grammarly free premium access code
1. First, you need to download a chrome extension that will help you manipulate cookies in your browser. This extension is available on the Chrome web store; you can find it by the name of “Edit this cookie.” Or you can download it via the link given below.
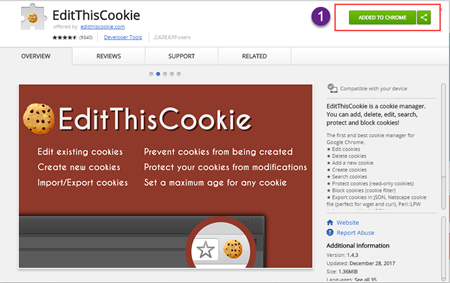
Grammarly Premium for Free on 2021 Download Chrome Extension EditThisCookie
2. Now, Visit the Grammarly Premium cookies page and copy all cookies from there. We are giving links to premium cookies down below.
3. Open Grammarly and then click on the edit cookies option. This option will become live in the extension window in your chrome browser’s top right corner.

4. You will see a trash icon. Click it to remove any present/active cookies from the page.
5. Now click on the import button and paste the premium cookie code, which you copied from the link above.

6. Hit paste and click on the Tick to save the cookies.
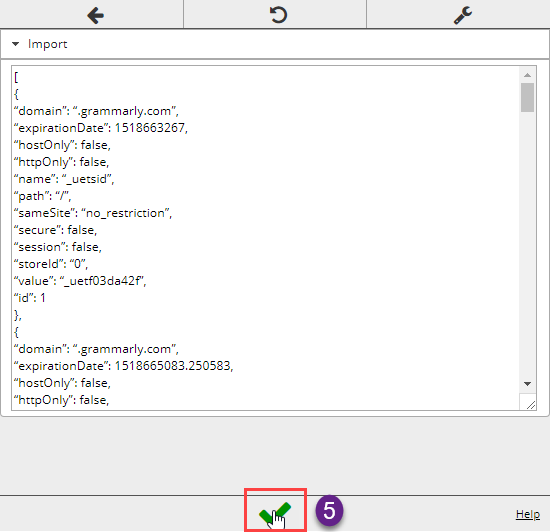
7. refresh the Grammarly page, and you’re ready to use Grammarly premium.
3. Get Grammarly Premium for free by access codes ( Grammarly Edu Code)
There are many offers by which you can still access Grammarly premium services for free via using some open access codes. Now, these access codes can be used when you’re signing up for a new account. These access codes are known as Grammarly Edu codes, and these were created to help college students.
Sign Up in Grammarly Premium (30% OFF Bonus)
Simple sign up on Grammarly with your email name and desired password. Make sure to use the Grammarly codes on the next screen. If one of them applied successfully, you could access Grammarly premium services for free. We are attaching a few Grammarly premium codes down below.
u5cjCJ6KbHabg9Q8
sEFgS39UvL9FECRr
FFeV6oSnRuE8pVxi
2gZ4ZF74xKUF8toB
CSzJNf7facYann6
J3XhbKTUax7chWTc
Kvmh6r7RhonaZSac
RmKvZghXPpnxL9J2
G3ZAkz6v3JAVSck3
n9bkZv9JYW5aUqWB
w84oyGF6QZ9aBb22
RfsvdpL6gyUBoKrwB- 394 views
- 1 answers
- 0 votes
-
Asked on September 15, 2021 in Graphic Design.
Photopea
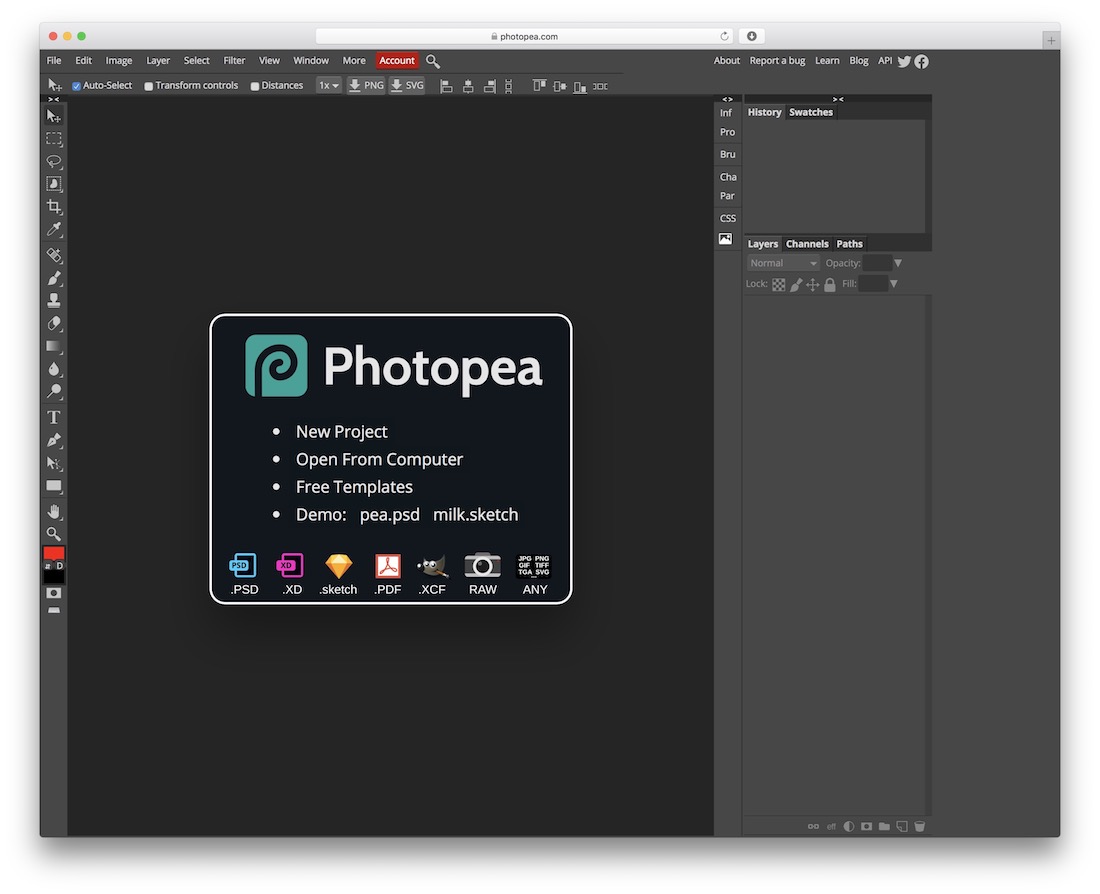
There is no need to download anything, you also do not need to pay for use, just head over to Photopea and turn your creativity on full-whack. It is a nifty free Photoshop alternative that supports all kinds of file formats, like PSD, Sketch, CDR and others. You can start your project from scratch or you can upload an image from your computer and import it directly into Photopea. There are even different free templates to choose from to boost your workflow. With amazing features and functions, Photopea is one satisfactory solution that will do the magic. Once you are done doing the work, just export your project in the desired file and call it a day.- 376 views
- 1 answers
- 0 votes
-
Asked on September 14, 2021 in Website.he best professional fonts to use for your website
- Playfair Display. Online aptitude test website Unpigeon users lower case, lightweight Playfair Display type for both the heading and supplementary text, to create an inviting and elegant landing page.
- Arvo.
- Dosis.
- Merriweather
- Helvetica.
- Montserrat.
- Open Sans.
- Lato.
- 367 views
- 1 answers
- 0 votes
-
Asked on September 12, 2021 in Computer.
Before working through the possible solutions listed, do these first:
- Check for updates. Select Start , then select Settings > Update & Security > Windows Update > Check for updates. If you see the option to View optional updates, select it to see if there are updates available for your camera. Allow available updates to install, then restart your device when it’s ready.
- Restart your PC. If you haven’t restarted your device since the camera stopped working, you should do so. Select Start , then select Power > Restart. Waking up your device from sleep isn’t the same thing as a restart.
- Test your camera with the Camera app. Select Start , then choose Camera from the list of apps. If you’re asked to allow access to the Camera, select Yes. If the camera works in the Camera app, the problem might be with the app you’re trying to use.
If your camera still doesn’t work, here are some other things to try. For best results, try the possible fixes in the order presented.
Check for a camera switch or button your device
Some laptops and portable devices have a physical switch or button that turns the camera on or off. When turned off, your device won’t recognize that there’s a camera installed. If your computer has a switch or button, make sure it’s in the on position before using your camera.
Check your settings
Give your apps permission
If you recently updated Windows 10, you might need to give apps permission to use the camera. In newer versions of Windows 10, some apps don’t have default access to the camera.
To let your device access the camera, select Start , then select Settings > Privacy > Camera . In Allow access to the camera on this device, if Camera access for this device is turned off, select Change and turn on Camera access for this device.
Allow access to the camera on this device
Note: If camera access for the device is turned off and you can’t select Change, you’ll need an administrator on the device to turn on camera access for you.
Before any app can access your camera, make sure camera access is turned on for apps in your user account. Make sure that Allow apps to access your camera is turned on.
After allowing access to the camera, go to Choose which Microsoft Store apps can access your camera and turn on camera access for the apps you want. Only apps installed from the Microsoft Store will show in this list.
If you installed the app from the internet, a disc, a USB drive, or your IT administrator installed the app for you, it might not be a Microsoft Store app. To check, go to Allow desktop apps access to your camera and make sure it’s turned on. Many video conferencing apps, like Microsoft Teams, are desktop apps that require this setting to be turned on.
To learn how you can configure your camera privacy settings in Windows 10, go to this Windows Community (in English) page.
Check your antivirus software
In your antivirus software settings, look for settings that block access to your camera or permission to use your camera. For help, visit your antivirus software company’s website.
Check your hardware drivers
Try a different USB port and scan for hardware changes
If you’re using an external camera, try using it with a different USB port on your device first. If that doesn’t work, or your camera is built-in to your device, try this:
- Select Start , enter device manager, then select it from the search results.
- Find your camera under Cameras, Imaging devices or Sound, video and game controllers.
- If you can’t find your camera, select the Action menu, then select Scan for hardware changes.
- Wait for it to scan and reinstall updated drivers, restart your device, then try opening the Camera app again.
- If these steps don’t fix your issue, continue to the next steps.
Check for an incompatible camera driver
Some older cameras that were designed for older devices aren’t compatible with Windows 10. Here’s how to check if you have if your camera is compatible:
- In Device Manager, look for your camera under Cameras, Imaging devices or Sound, video and game controllers.
- Press and hold (or right-click) the name of your camera, and then select Properties.
- Select the Driver tab, select the Driver Details button, and look for a file name that includes stream.sys. If it’s there, your camera was designed before Windows 7 and you’ll have to replace it with a newer camera.
- If you don’t find a file name that includes stream.sys, continue to the next steps.
Roll back the camera driver
If your camera stopped working after an update, try these steps:
- In Device Manager, press and hold (or right-click) your camera, and then select Properties.
- Select the Driver tab, select Roll Back Driver, and then choose Yes. (Some drivers don’t provide this option. If your driver doesn’t have Roll Back Driver available, go ahead to the next fix.)
- After the roll back is complete, restart your device, and then try opening the Camera app again.
- If rolling back didn’t work or isn’t available, continue to the next steps.
Uninstall your camera driver and scan for hardware changes
- In Device Manager, press and hold (or right-click) your camera, and then select Properties.
- Select the Driver tab, then select Uninstall Device. Select the check box for Delete the driver software for this device, then select OK.
- In Device Manager, on the Action menu, select Scan for hardware changes.
-
Wait for it to scan and reinstall updated drivers, restart your PC, and then try opening the Camera app again.
- 396 views
- 1 answers
- 0 votes


